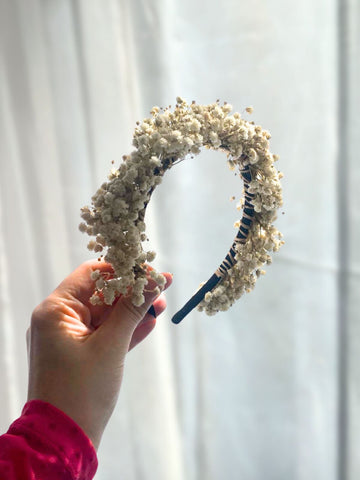
How to make a flower headband
Are you looking for a floral detail for your next event? Then a headband with preserved flowers is just what you need! With this super easy tutorial, you can create your own flower headband in less than an hour. fiance!

Material to make the flower headband:
- Preserved flowers: Choose your favorites, whether hydrangeas, eucalyptus or paniculata, you decide!
- Headband: Opt for one that is comfortable and fits well.
- Fine wire: To secure the flowers.
- Pliers: To cut and manipulate the wire.
- Floral tape (optional): Helps secure the flowers and gives it a soft touch.
- Floral glue (optional): For extra hold.
@lafloueri How to make a paniculata headband? #diademaflores #florespreservadas #paniculata ♬ original sound - Floueri 🌷 Preserved flowers
Step by step to make your own flower headband:
Step 1: Prepare your flowers Trim the stems by about 5 cm so they are easy to handle. The shorter it is, the thicker it will be.
Step 2: Prepare the base If your headband is not fabric lined, wrap the headband with floral tape if you want a soft support for your flowers.
Step 3: Design your headband Play with the flowers and organize them on the headband however you like. Let your creativity fly!
Step 4: Attach the Flowers Use the wire to secure each flower to the headband. Wrap it around the base of the flower and headband to secure it in place. If you need more security, a little floral glue will do the trick.
Step 5: The finishing touches Make sure all the flowers are securely fastened and adjust the design according to your preferences. Make your headband look perfect!
And ready! You've created your own headband with preserved flowers, and you look amazing! These headbands are durable, perfect for any party. So experiment with different flowers and styles to create a headband that is unique and reflects your personality perfectly!


